Writing your own workbench keywords
The VSCode library downloads VS Code, starts it in isolation and hands the workbench window to Browser. It has no keywords for the command palette, quick picks, notifications, webviews, the editor or the terminal, and no locators for them. These belong to your project:
- The workbench’s DOM changes with VS Code releases, and it differs between versions and forks.
- Every extension needs other parts of the workbench.
- When a locator breaks, you fix it in your project right away, without waiting for a release of the library.
The example project examples/vscode-extension in the repository shows how to write them. It is a small extension with a command that shows a notification, a command that shows a quick pick, and a command that opens a webview, and a workspace with a Python script and a text file. Its tests keep one resource file per workbench part, with the part’s keywords and its locators as variables. The keywords use only Browser keywords. Copy the folder as a starting point and keep the resources your extension needs.
Opening VS Code
Section titled “Opening VS Code”Open Example VS Code opens VS Code with the extension of the project’s folder, ${EXECDIR}:
- Version: the variables select the VS Code version and default to a download into the user’s cache, so a copied project runs without any setup. A personal
.robot.tomlor the command line can point them to an installed VS Code, see Downloads and cache. - Workspace: VS Code opens a fresh copy of
tests/workspacein the output directory, so tests can change files.Example Workspacereturns its path, computed when it is needed instead of stored in a suite variable. - Settings: VS Code opens maximised, which fills the screen when a window manager runs, see CI and the Linux display. VS Code’s own file dialog replaces the native one, and the terminal runs
sh, so that personal shell configuration does not show up in tests and screenshots. VS Code has no built-in profilesh, so the settings define it. - Options: named arguments of
Open VS Code, such asextensions, are passed on.
*** Settings ***Documentation       Opens VS Code with the extension of this folder.
Library             OperatingSystemLibrary             VSCode

*** Variables ***# The VS Code version that the tests run against: a fixed version, `stable` or `insiders`.${VSCODE_VERSION}       1.141.0# An installed VS Code to use instead of a download, for example /usr/share/code/code.${VSCODE_EXECUTABLE}    ${NONE}# Where downloaded VS Code builds are cached; ${NONE} is the user's cache directory.${VSCODE_CACHE}         ${NONE}

*** Keywords ***Open Example VS Code    [Documentation]    Opens an isolated VS Code with the extension of this folder loaded from source.    ...    ...    VS Code opens a fresh copy of `tests/workspace`, see `Example Workspace`, so    ...    that tests can change files. It opens maximised, so that it fills the screen;    ...    on Xvfb and Xephyr this needs a window manager, which the display profiles    ...    start. Its own file dialog replaces the native one, which Browser cannot reach,    ...    and its terminal runs `sh`, independent of personal shell configuration.    ...    Named arguments of `Open VS Code`, such as `extensions` or `record_video`, are    ...    passed on.    [Arguments]    &{options}    ${workspace} =    Example Workspace    Remove Directory    ${workspace}    recursive=True    Copy Directory    ${EXECDIR}/tests/workspace    ${workspace}    VAR    &{sh}    path=sh    VAR    &{terminal_profiles}    sh=${sh}    VAR    &{settings}    ...    window.newWindowDimensions=maximized    ...    files.simpleDialog.enable=${True}    ...    terminal.integrated.profiles.linux=${terminal_profiles}    ...    terminal.integrated.profiles.osx=${terminal_profiles}    ...    terminal.integrated.defaultProfile.linux=sh    ...    terminal.integrated.defaultProfile.osx=sh    Open VS Code    ${workspace}    ...    version=${VSCODE_VERSION}    ...    executable=${VSCODE_EXECUTABLE}    ...    cache_dir=${VSCODE_CACHE}    ...    extension_development_path=${EXECDIR}    ...    settings=${settings}    ...    &{options}
Example Workspace    [Documentation]    Returns the folder of the workspace copy that `Open Example VS Code` opens in this suite.    RETURN    ${OUTPUT_DIR}/workspaces/${SUITE NAME}
Command palette
Section titled “Command palette”The command palette filters its list asynchronously while you type. If a test presses Enter right after typing, the palette can still show an older match and run the wrong command. Run Command therefore waits for the row of exactly this command before it presses Enter.
- Exact rows: a row’s
aria-labelis the command’s title, or the title followed by,and its key binding or a hint such assimilar commands. Matching only a part of the label would also find commands such as Terminal: Create New Terminal (In Active Workspace), and Browser’s strict mode would fail. - Late commands: some commands are registered only a while after VS Code has started, or after an extension has been installed into the running VS Code, and a palette that is already open does not show them.
Run Commandopens a fresh palette until the command is there. It switches off Browser’s failure screenshots for the attempts in between. - Templates: the locator is a template, and
Format Stringreplaces{title}with the command’s title. That keeps the whole selector in the variable, so it can be replaced without changing the keyword.
*** Settings ***Documentation       Runs commands through the command palette.
Library             StringLibrary             VSCode

*** Variables ***# The palette row of exactly this command; {title} is replaced by the command's title. The row's# aria-label is the title, or the title followed by ", " and its key binding or other hints.${COMMAND_PALETTE_ROW}      .quick-input-list .monaco-list-row[aria-label="{title}"], .quick-input-list .monaco-list-row[aria-label^="{title}, "]# How long to wait for a command that VS Code or an extension registers only after the start.${COMMAND_TIMEOUT}          30s

*** Keywords ***Run Command    [Documentation]    Runs the command with the given title, for example `Robot Example: Say Hello`.    ...    ...    The command palette filters asynchronously. The keyword waits for the    ...    command's row before it presses Enter, so it never runs another command.    ...    Some commands are registered only a while after VS Code has started, or after    ...    an extension has been installed, and an open palette does not show them.    ...    The keyword therefore opens the palette again until the command is there,    ...    without Browser's failure screenshots for the attempts in between.    [Arguments]    ${title}    ${row} =    Format String    ${COMMAND_PALETTE_ROW}    title=${title}    ${on_failure} =    Register Keyword To Run On Failure    ${None}    TRY        Wait Until Keyword Succeeds    ${COMMAND_TIMEOUT}    1s    Find Command In A Fresh Palette    ${title}    ${row}    FINALLY        Register Keyword To Run On Failure    ${on_failure}    END    Keyboard Key    press    Enter
Find Command In A Fresh Palette    [Documentation]    Opens the command palette, types the title and waits shortly for the command's row.    [Arguments]    ${title}    ${row}    Keyboard Key    press    Escape    Keyboard Key    press    F1    Keyboard Input    type    ${title}    Wait For Elements State    ${row}    visible    timeout=2s
Quick picks
Section titled “Quick picks”A quick pick that an extension shows uses the same list as the command palette, and its rows are matched by their exact label in the same way. Quick Pick Item Should Be Shown waits for an item, and Select Quick Pick Item waits for it and clicks it.
*** Settings ***Documentation       Selects items of quick picks that an extension shows.
Library             StringLibrary             VSCode

*** Variables ***# The row of exactly this quick pick item; {label} is replaced by the item's label. The row's# aria-label is the label, or the label followed by ", " and the item's description.${QUICK_PICK_ITEM}      .quick-input-list .monaco-list-row[aria-label="{label}"], .quick-input-list .monaco-list-row[aria-label^="{label}, "]

*** Keywords ***Quick Pick Item Should Be Shown    [Documentation]    Waits until the open quick pick shows the item with the given label.    [Arguments]    ${label}    ${item} =    Format String    ${QUICK_PICK_ITEM}    label=${label}    Wait For Elements State    ${item}    visible
Select Quick Pick Item    [Documentation]    Selects the item with the given label in the open quick pick.    [Arguments]    ${label}    Quick Pick Item Should Be Shown    ${label}    ${item} =    Format String    ${QUICK_PICK_ITEM}    label=${label}    Click    ${item}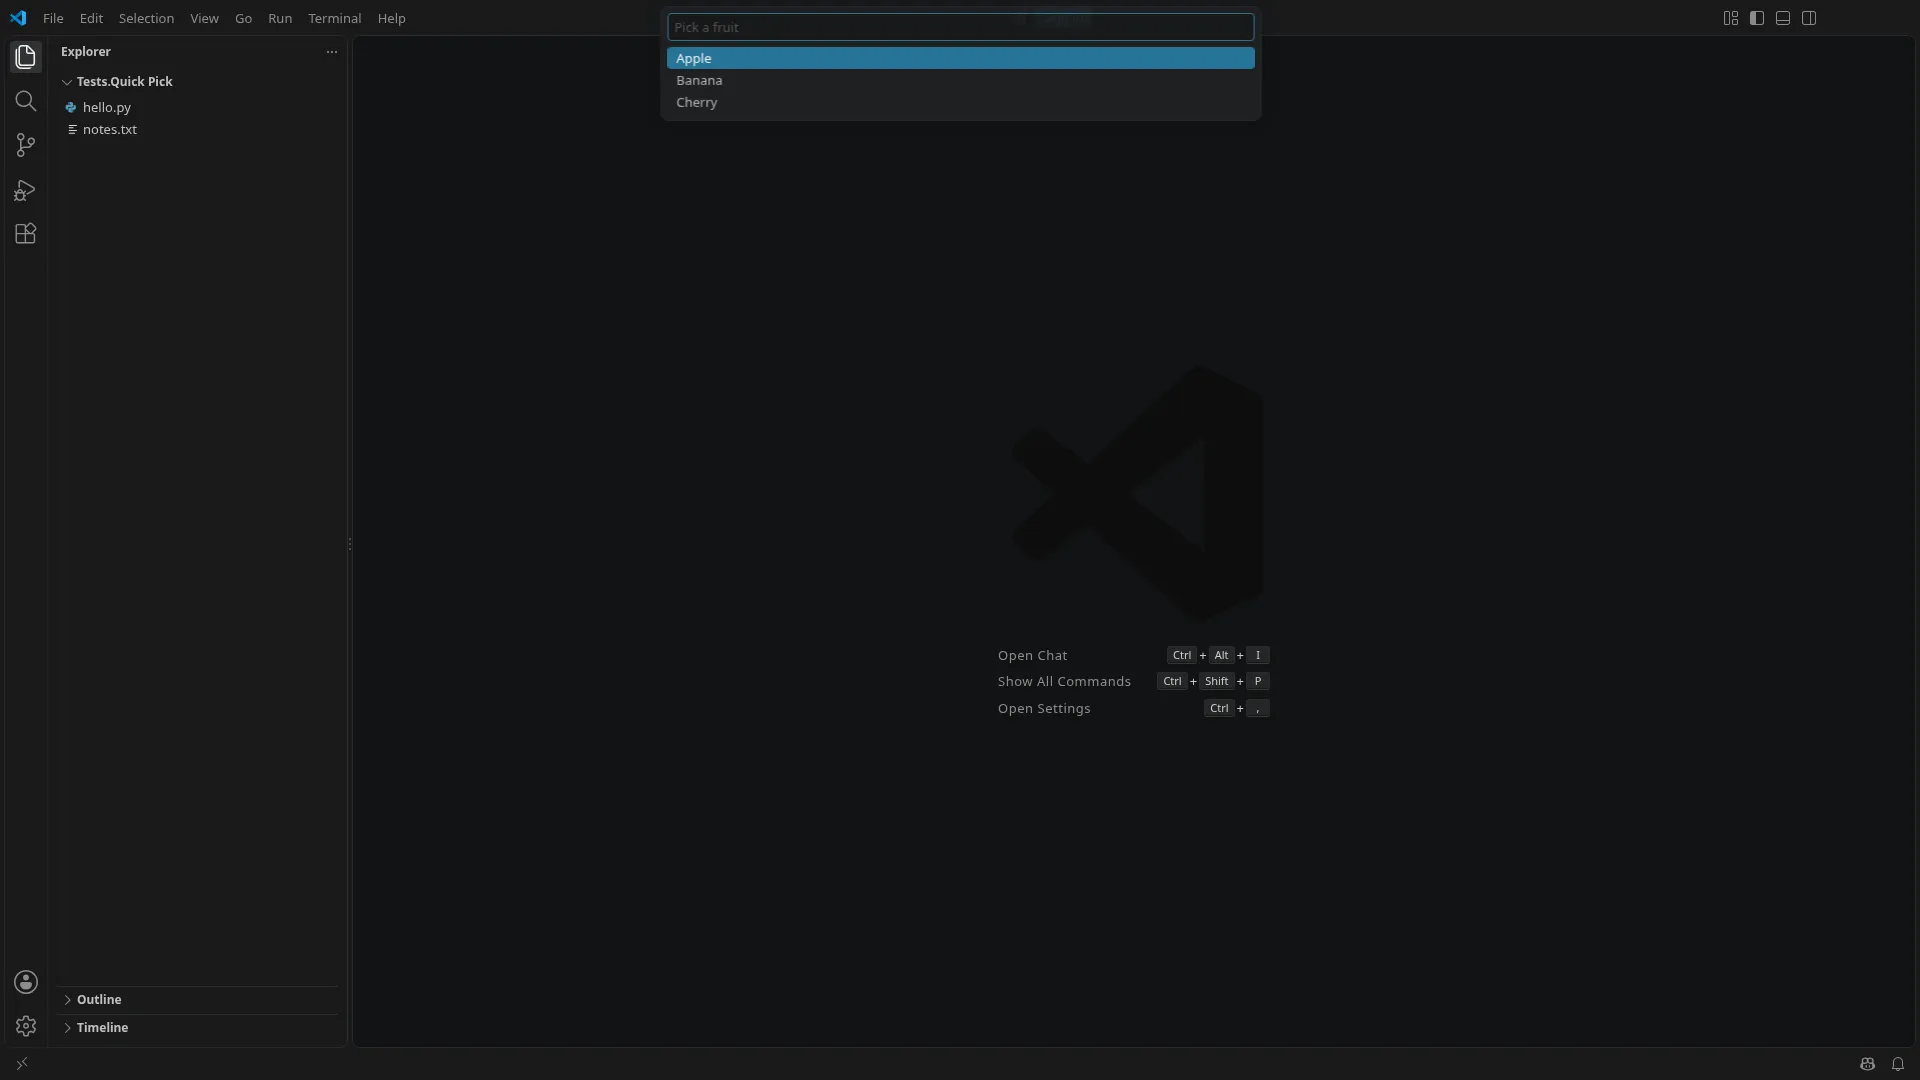
Notifications
Section titled “Notifications”Notifications appear asynchronously, and several can be shown at the same time. Notification Should Be Shown waits for a toast with exactly the given text.
*** Settings ***Documentation       Checks the notifications that VS Code shows.
Library             StringLibrary             VSCode

*** Variables ***# A notification toast with the given text; {message} is replaced by the text.${NOTIFICATION}     .notifications-toasts .notification-list-item-message >> text="{message}"

*** Keywords ***Notification Should Be Shown    [Documentation]    Waits until a notification with exactly the given text is shown.    [Arguments]    ${message}    ${notification} =    Format String    ${NOTIFICATION}    message=${message}    Wait For Elements State    ${notification}    visible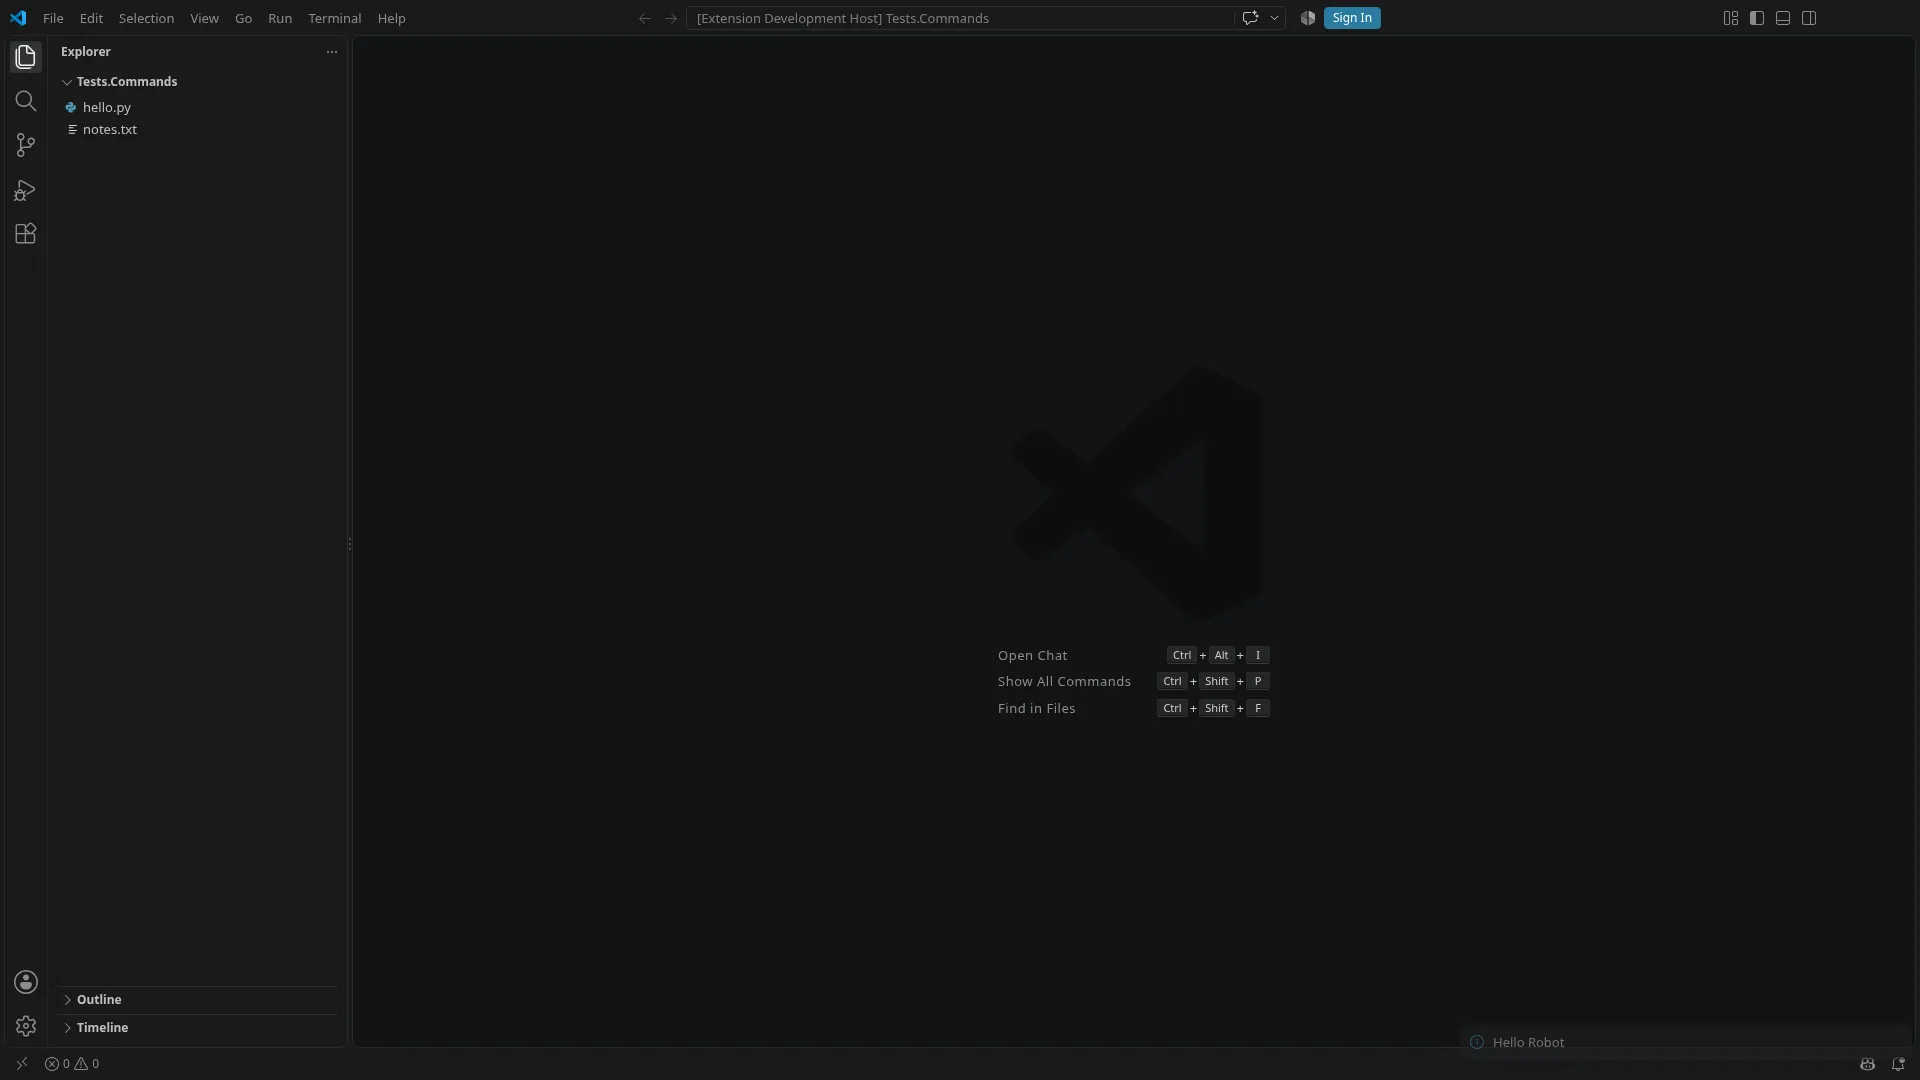
Webviews
Section titled “Webviews”A webview is a page inside two nested frames: an outer iframe.webview whose src names the extension, and an inner iframe#active-frame with the extension’s HTML. Browser reaches into frames with >>>.
Enter Webview sets Browser’s selector prefix to these frames, so the following keywords act inside the webview with ordinary selectors. It returns the previous prefix, and Leave Webview restores it. The prefix travels as a return value and an argument, not as a suite or global variable, and its scope is the test, so a failing test does not leave it set for the next one.
*** Settings ***Documentation       Acts inside the webviews of an extension.
Library             StringLibrary             VSCode

*** Variables ***# The frames that hold an extension's webview; {extension_id} is replaced by the extension's id.${WEBVIEW_FRAMES}       iframe.webview.ready[src*="extensionId={extension_id}"] >>> iframe#active-frame

*** Keywords ***Enter Webview    [Documentation]    Makes the following Browser keywords act inside the webview of the given extension.    ...    ...    Sets Browser's selector prefix to the webview's frames until `Leave Webview`    ...    or the end of the test, and returns the previous prefix for `Leave Webview`.    [Arguments]    ${extension_id}    ${frames} =    Format String    ${WEBVIEW_FRAMES}    extension_id=${extension_id}    ${previous} =    Set Selector Prefix    ${frames} >>>    scope=Test    RETURN    ${previous}
Leave Webview    [Documentation]    Makes the following Browser keywords act on the workbench again.    [Arguments]    ${previous}    Set Selector Prefix    ${previous}    scope=Test
A test uses the resources it needs:
*** Settings ***Documentation       Acts inside a webview of the extension and on the workbench afterwards.
Resource            resources/vscode.resourceResource            resources/command_palette.resourceResource            resources/webview.resource
Suite Setup         Open Example VS CodeSuite Teardown      Close VS Code

*** Test Cases ***Button In The Webview    Run Command    Robot Example: Open Webview    ${previous} =    Enter Webview    robot.example-extension    Get Text    id=status    ==    Not clicked    Click    id=click-me    Get Text    id=status    ==    Clicked    Take Screenshot    filename=webview    Leave Webview    ${previous}    Get Text    .tabs-container .tab.active    *=    Robot Example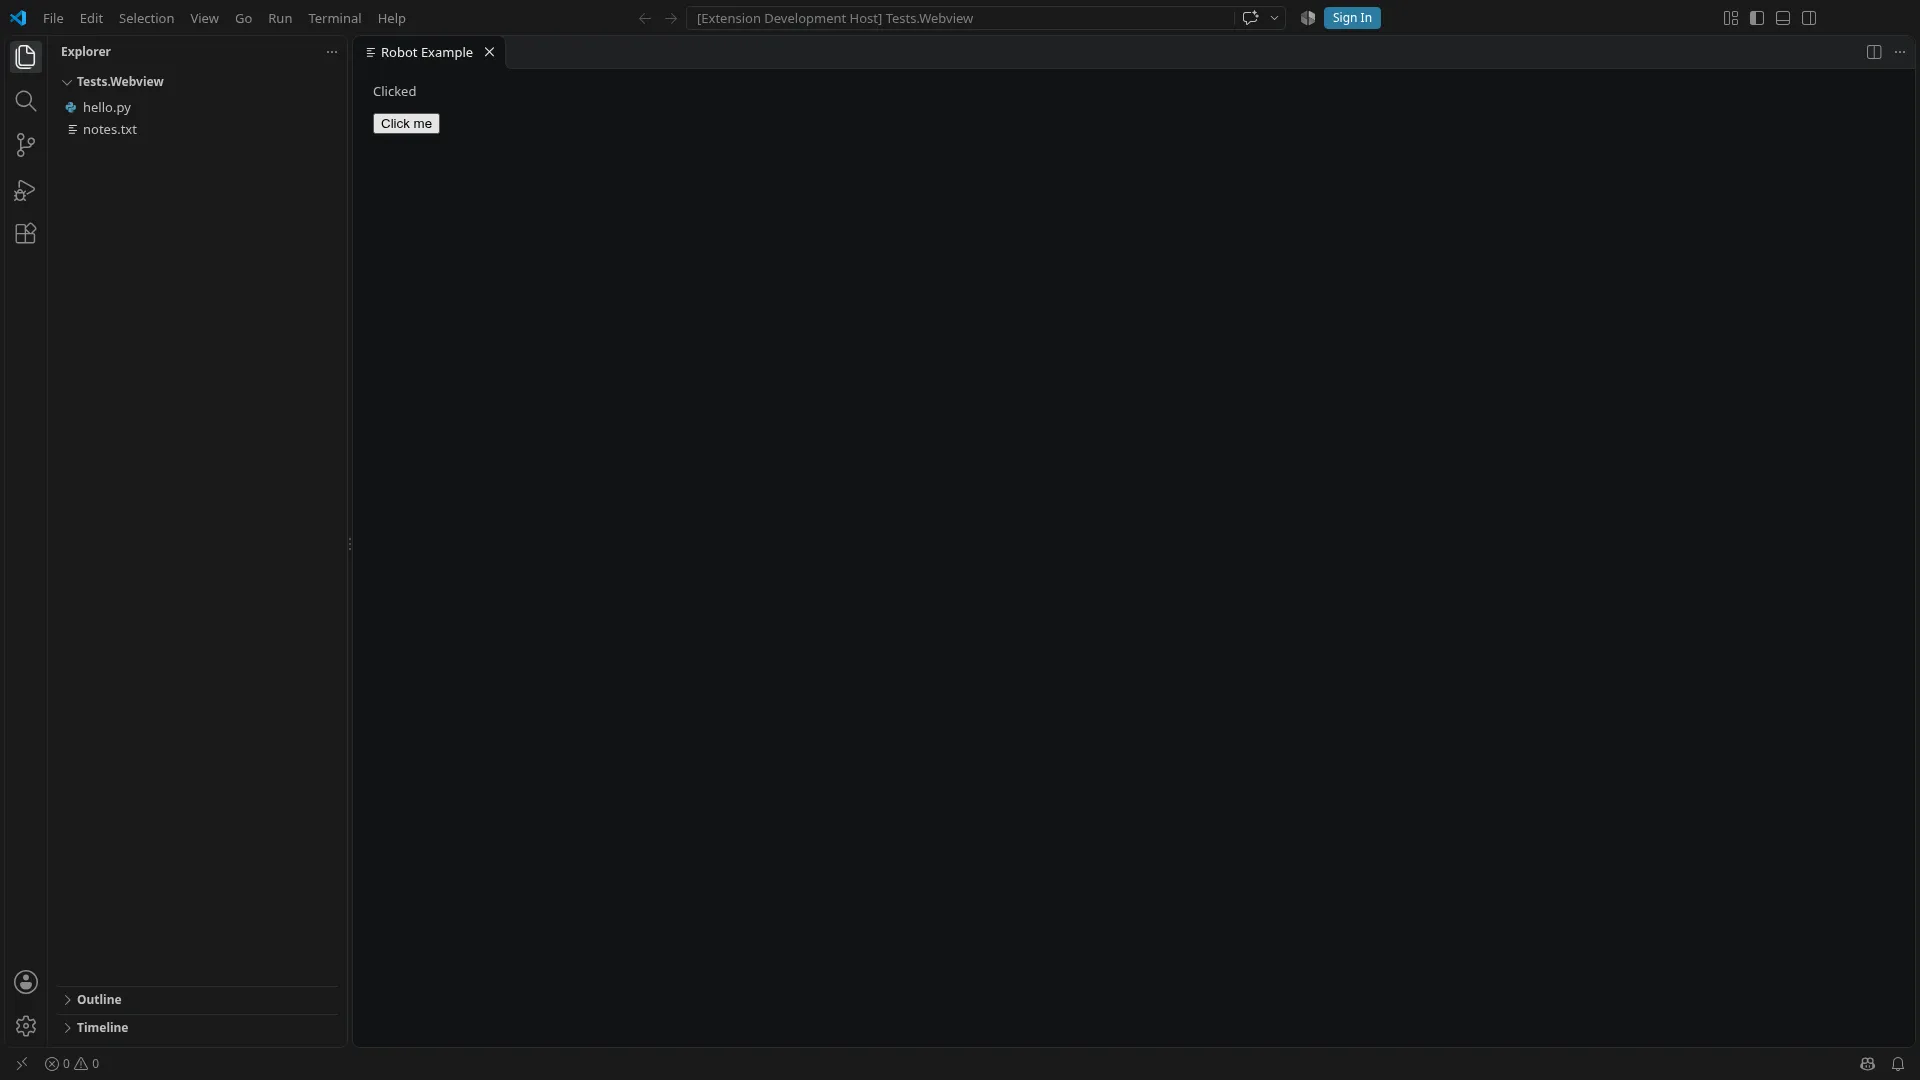
Editor
Section titled “Editor”Open File opens a file of the workspace through Quick Open, waits for its row, and then for the file’s tab to be active. New File opens a new, untitled file, and Save File saves the active editor. The shortcuts use Playwright’s ControlOrMeta, which is Ctrl on Linux and Windows and Cmd on macOS. To check what a test typed, read the saved file from the workspace copy, as editor.robot does.
*** Settings ***Documentation       Opens and saves files in the editor.
Library             StringLibrary             VSCode

*** Variables ***# The Quick Open row of a file; {name} is replaced by the file name.${QUICK_OPEN_ROW}       .quick-input-list .monaco-list-row[aria-label^="{name}, "]# The active editor tab of a file; {name} is replaced by the file name.${ACTIVE_TAB}           .tabs-container .tab.active[aria-label="{name}"]# The active editor tab of a new, untitled file.${UNTITLED_TAB}         .tabs-container .tab.active[aria-label*="Untitled-"]

*** Keywords ***Open File    [Documentation]    Opens a file of the workspace through Quick Open, for example `notes.txt`.    [Arguments]    ${name}    ${row} =    Format String    ${QUICK_OPEN_ROW}    name=${name}    Keyboard Key    press    ControlOrMeta+p    Keyboard Input    type    ${name}    Wait For Elements State    ${row}    visible    Keyboard Key    press    Enter    Active Editor Should Be    ${name}
Active Editor Should Be    [Documentation]    Waits until the file with the given name is open in the active editor.    [Arguments]    ${name}    ${tab} =    Format String    ${ACTIVE_TAB}    name=${name}    Wait For Elements State    ${tab}    visible
New File    [Documentation]    Opens a new, untitled file in the editor.    Keyboard Key    press    ControlOrMeta+n    Wait For Elements State    ${UNTITLED_TAB}    visible
Save File    [Documentation]    Saves the file in the active editor.    Keyboard Key    press    ControlOrMeta+s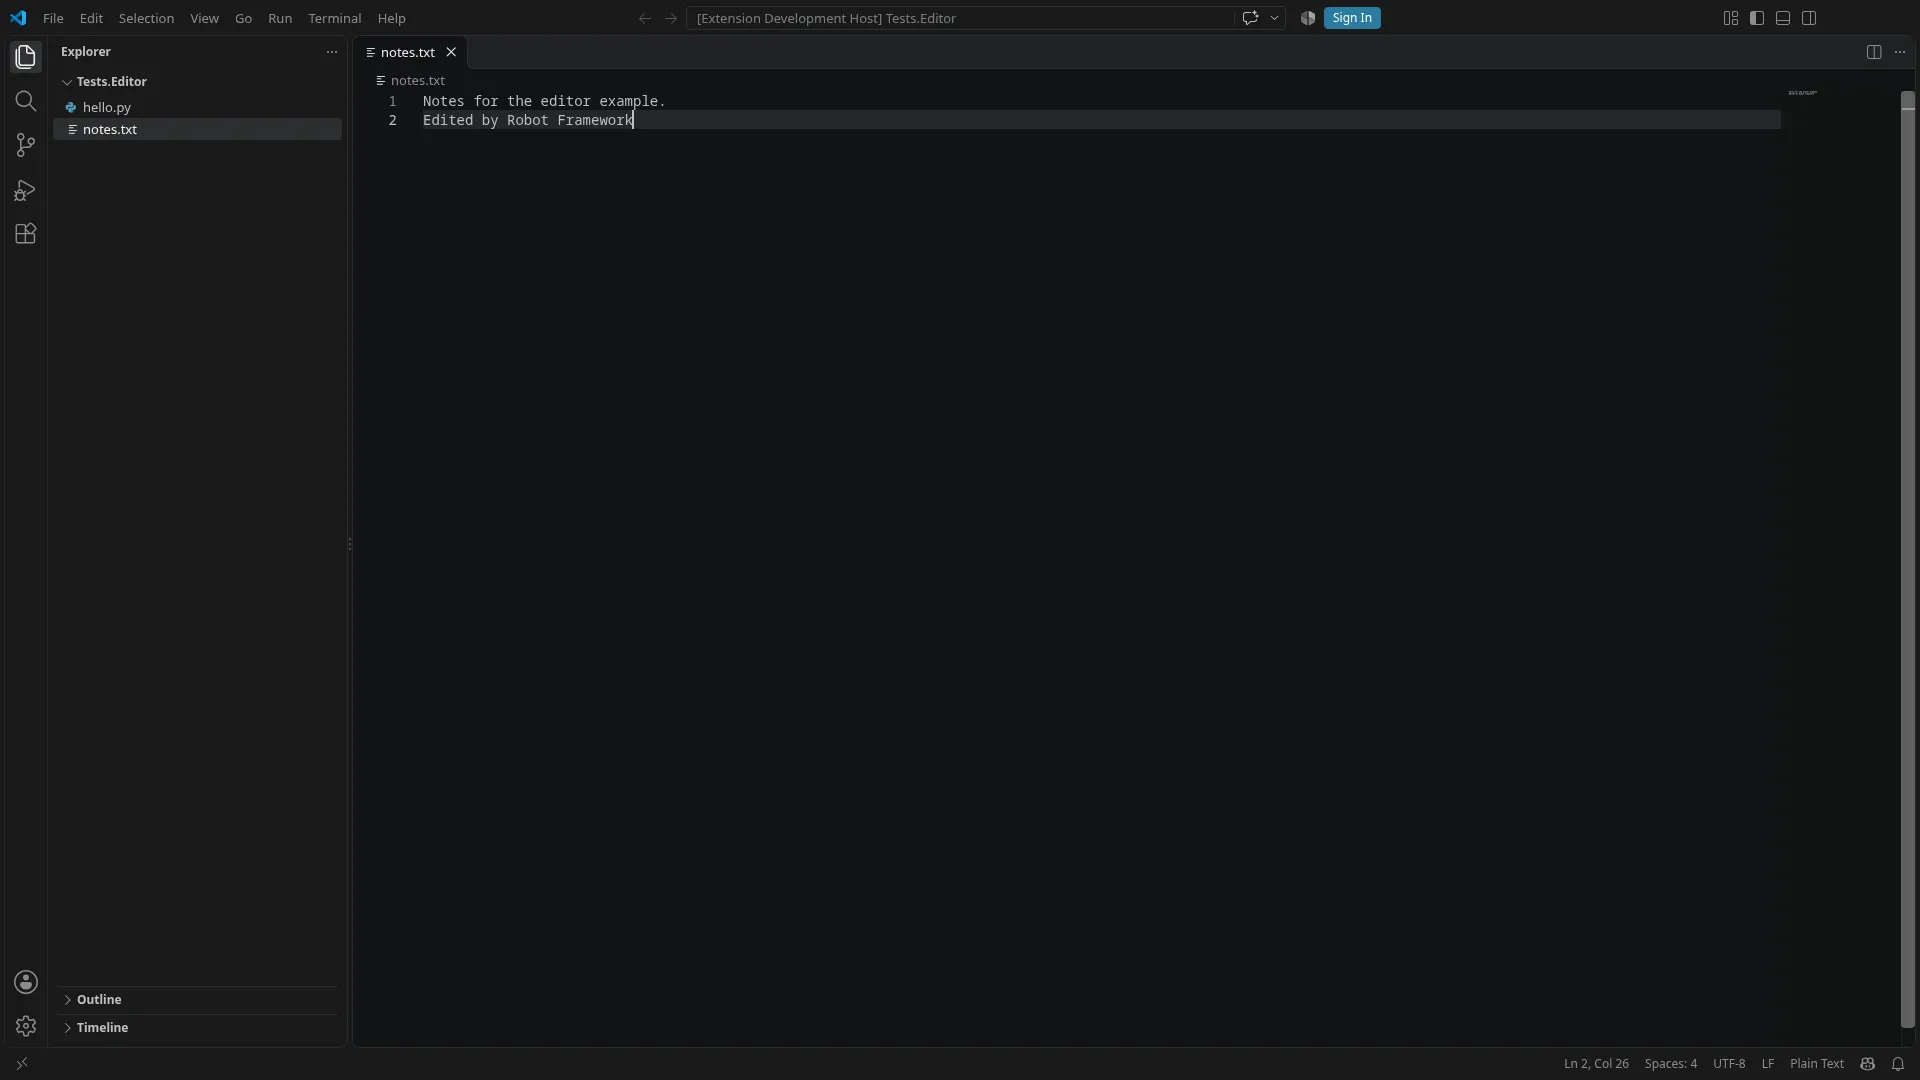
Explorer
Section titled “Explorer”The explorer shows its actions, such as New File…, only while the mouse is over it. Create File In Explorer therefore hovers over the explorer before it clicks the action, fills the name into the input that appears in the tree, and presses Enter. VS Code creates the file and opens it in the editor.
*** Settings ***Documentation       Creates files in the explorer.
Library             VSCode

*** Variables ***# The explorer's view of the workspace folder.${EXPLORER}                 .explorer-folders-view# The explorer's action that creates a file; it shows while the mouse is over the explorer.${EXPLORER_NEW_FILE}        .pane-header [aria-label="New File..."]# The input in which the explorer asks for the name of a new file.${EXPLORER_NAME_INPUT}      .explorer-folders-view input[aria-label^="Type file name"]

*** Keywords ***Create File In Explorer    [Documentation]    Creates a file in the workspace folder with the explorer's *New File...* action.    ...    VS Code opens the new file in the editor.    [Arguments]    ${name}    Hover    ${EXPLORER}    Click    ${EXPLORER_NEW_FILE}    Fill Text    ${EXPLORER_NAME_INPUT}    ${name}    Keyboard Key    press    Enter
File dialog
Section titled “File dialog”VS Code normally shows the operating system’s file dialogs, which are outside the page and out of Browser’s reach. With the setting files.simpleDialog.enable, it shows its own dialog in the quick input instead. The dialog lists its folder asynchronously and then sets its input to that folder, so Open File With Dialog waits for the listing before it fills in the path, and checks the path before it presses Enter. Save File With Dialog saves the active editor under a path the same way, through File: Save As….
*** Settings ***Documentation       Opens and saves files through VS Code's own file dialog.......                 VS Code shows native file dialogs, which Browser cannot reach. With the...                 setting `files.simpleDialog.enable`, which `Open Example VS Code` sets, it shows...                 its own dialog in the quick input instead.
Library             VSCodeResource            command_palette.resource

*** Variables ***# The path input of VS Code's own file dialog.${FILE_DIALOG_INPUT}    .quick-input-widget .quick-input-box input# The first entry of the folder that the dialog lists.${FILE_DIALOG_ENTRY}    .quick-input-list .monaco-list-row >> nth=0

*** Keywords ***Open File With Dialog    [Documentation]    Opens the file with the given path through *File: Open File...*.    [Arguments]    ${path}    Run Command    File: Open File...    # The dialog loads its folder asynchronously and then sets the input to it, so the    # path is filled in only after the folder is listed, and checked before Enter.    Wait For Elements State    ${FILE_DIALOG_ENTRY}    visible    Fill Text    ${FILE_DIALOG_INPUT}    ${path}    Get Property    ${FILE_DIALOG_INPUT}    value    ==    ${path}    Keyboard Key    press    Enter
Save File With Dialog    [Documentation]    Saves the active editor under the given path through *File: Save As...*.    [Arguments]    ${path}    Run Command    File: Save As...    Wait For Elements State    ${FILE_DIALOG_ENTRY}    visible    Fill Text    ${FILE_DIALOG_INPUT}    ${path}    Get Property    ${FILE_DIALOG_INPUT}    value    ==    ${path}    Keyboard Key    press    Enter
Terminal
Section titled “Terminal”The terminal’s text is in the DOM, in the rows of .xterm-rows. Run In Terminal opens a new terminal and types a command, and Terminal Should Show waits until the active terminal shows a text. The example’s test runs echo $((40 + 2)) and waits for 42, which proves that the command ran, because the typed command line contains only 40 and 2.
*** Settings ***Documentation       Runs commands in the integrated terminal and reads their output.
Library             StringLibrary             VSCodeResource            command_palette.resource

*** Variables ***# The rows of the active terminal.${TERMINAL_ROWS}        .terminal-wrapper.active .xterm-rows# A row of the active terminal that contains a text; {text} is replaced by the text.${TERMINAL_TEXT}        .terminal-wrapper.active .xterm-rows >> text={text}

*** Keywords ***Run In Terminal    [Documentation]    Opens a new terminal and runs the given command in it.    [Arguments]    ${command}    Run Command    Terminal: Create New Terminal    Wait For Elements State    ${TERMINAL_ROWS}    visible    Keyboard Input    type    ${command}    Keyboard Key    press    Enter
Terminal Should Show    [Documentation]    Waits until the active terminal shows the given text.    [Arguments]    ${text}    ${output} =    Format String    ${TERMINAL_TEXT}    text=${text}    Wait For Elements State    ${output}    visible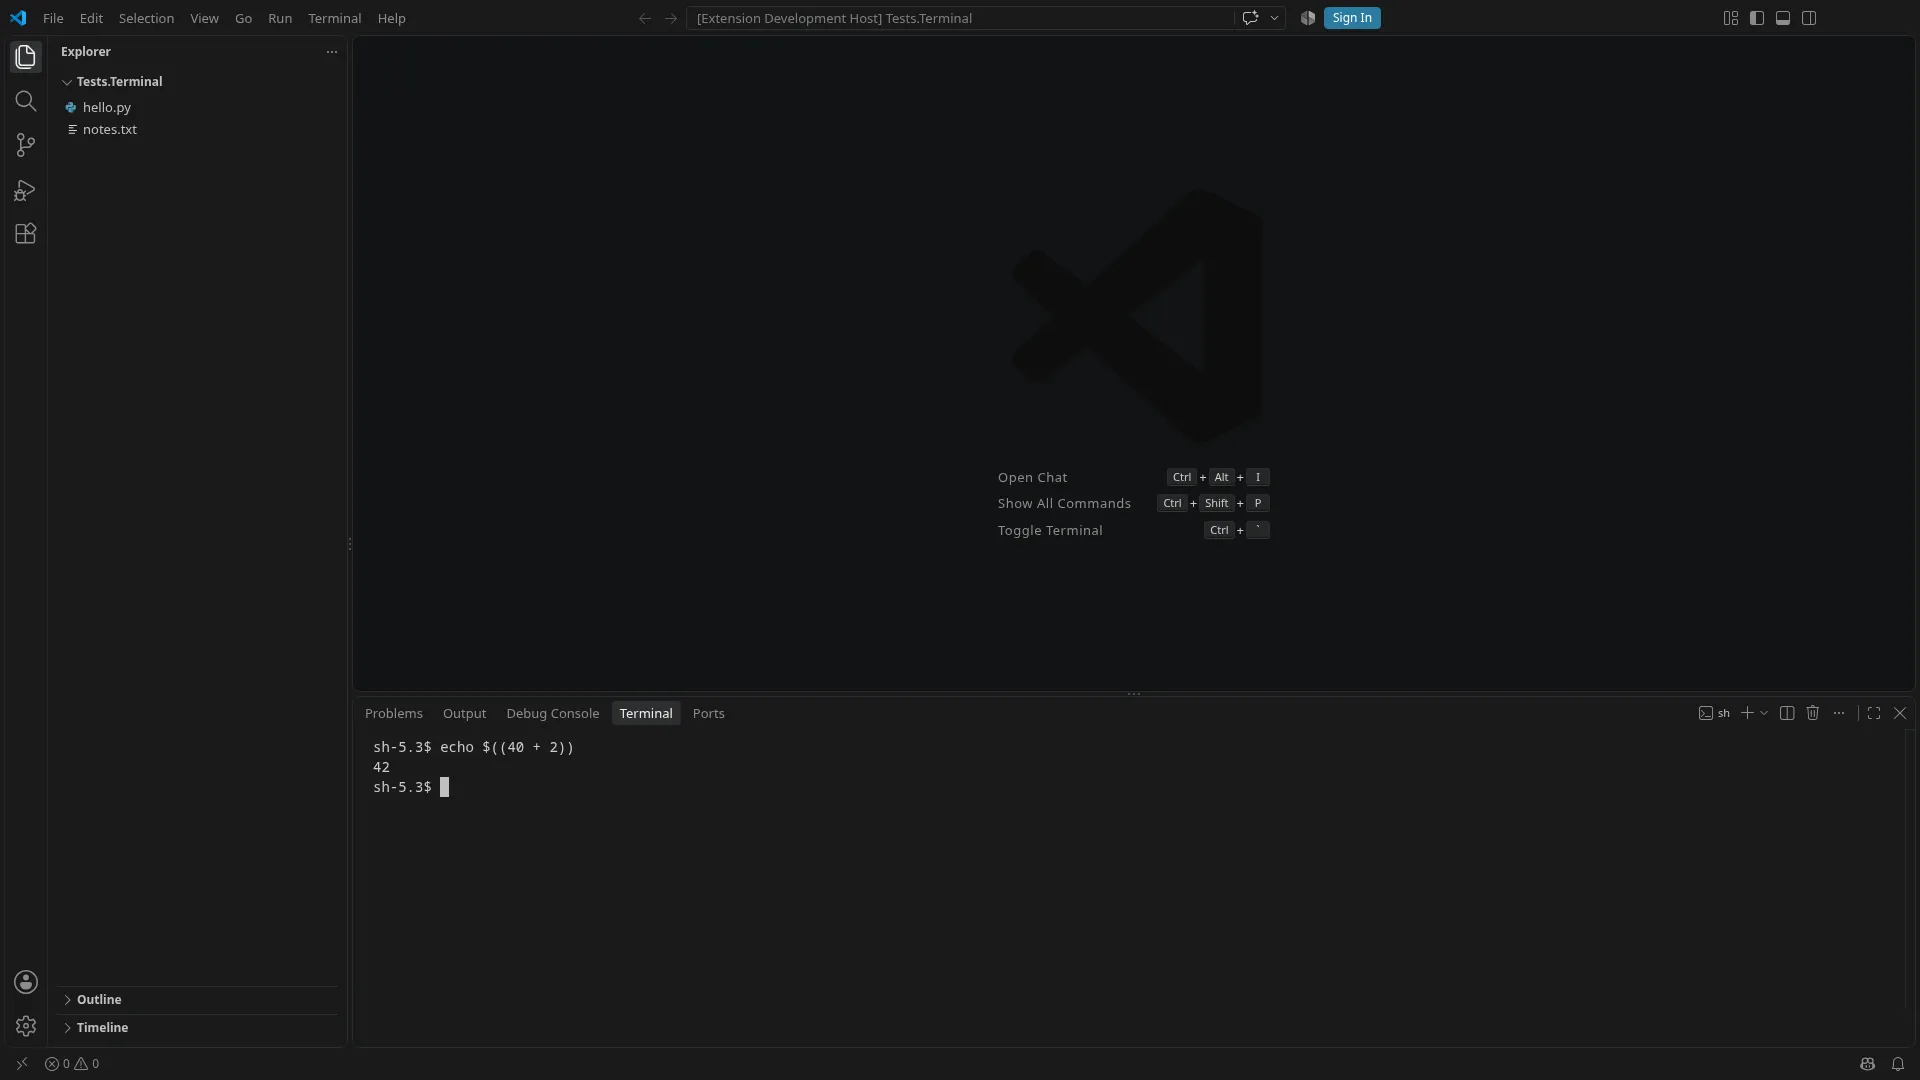
Finding locators
Section titled “Finding locators”The RobotCode REPL runs keywords one by one against a VS Code that stays open, which makes it the quickest way to find locators. Start it in the project’s folder:
robotcode replThen open VS Code with the project’s own keyword and look at the part you need. An aria snapshot lists the roles and names of a part, Highlight Elements shows on screen what a selector finds, and Get Element Count tells whether it is unique. Assign return values to variables to see them:
Resource tests/resources/vscode.resourceResource tests/resources/command_palette.resourceOpen Example VS Code${snapshot} = Get Aria Snapshot .activitybarHighlight Elements .activitybar .action-item duration=3s${count} = Get Element Count .activitybar .action-itemRun Command Robot Example: Pick${rows} = Get Element Count .quick-input-list .monaco-list-rowThe aria snapshot of the activity bar, for example, starts like this:
- tablist "Active View Switcher": - tab "Explorer (Ctrl+Shift+E)" [expanded] [selected]: - tab "Search (Ctrl+Shift+F)":VS Code’s own developer tools show the full DOM. Open them in the running instance with the command Developer: Toggle Developer Tools. Prefer stable class names and attributes such as aria-label over positions in the DOM, and move what works into a resource as a variable.
When a new VS Code version needs other locators, override the variables in a profile per version, as described in VS Code versions and profiles.